Appearance
Scheduling Jobs
Jobs allow you to schedule your test cases to be executed automatically at specific times. This is especially useful for running tests on a regular cadence (e.g., daily health checks, weekly regression tests) without needing to trigger them manually.
By automating your test runs, you ensure consistent monitoring of your application's functionality and reduce the risk of regressions slipping through.
How to Schedule a Job
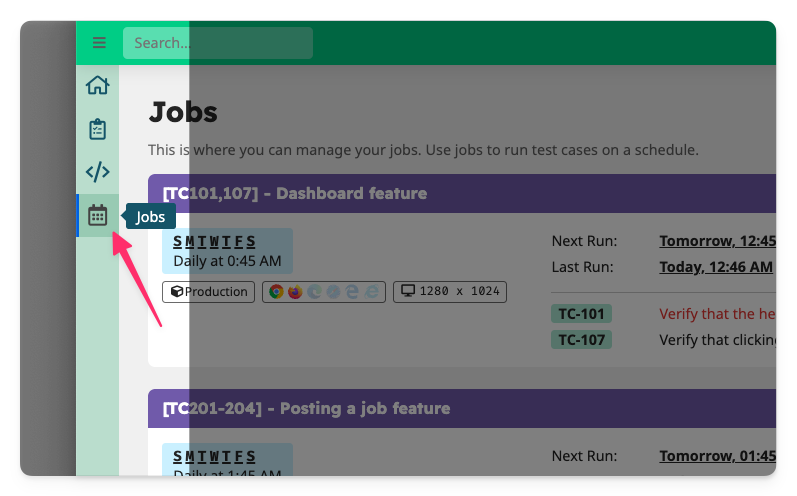
👉 Navigate to the Jobs tab from the side navigation bar.
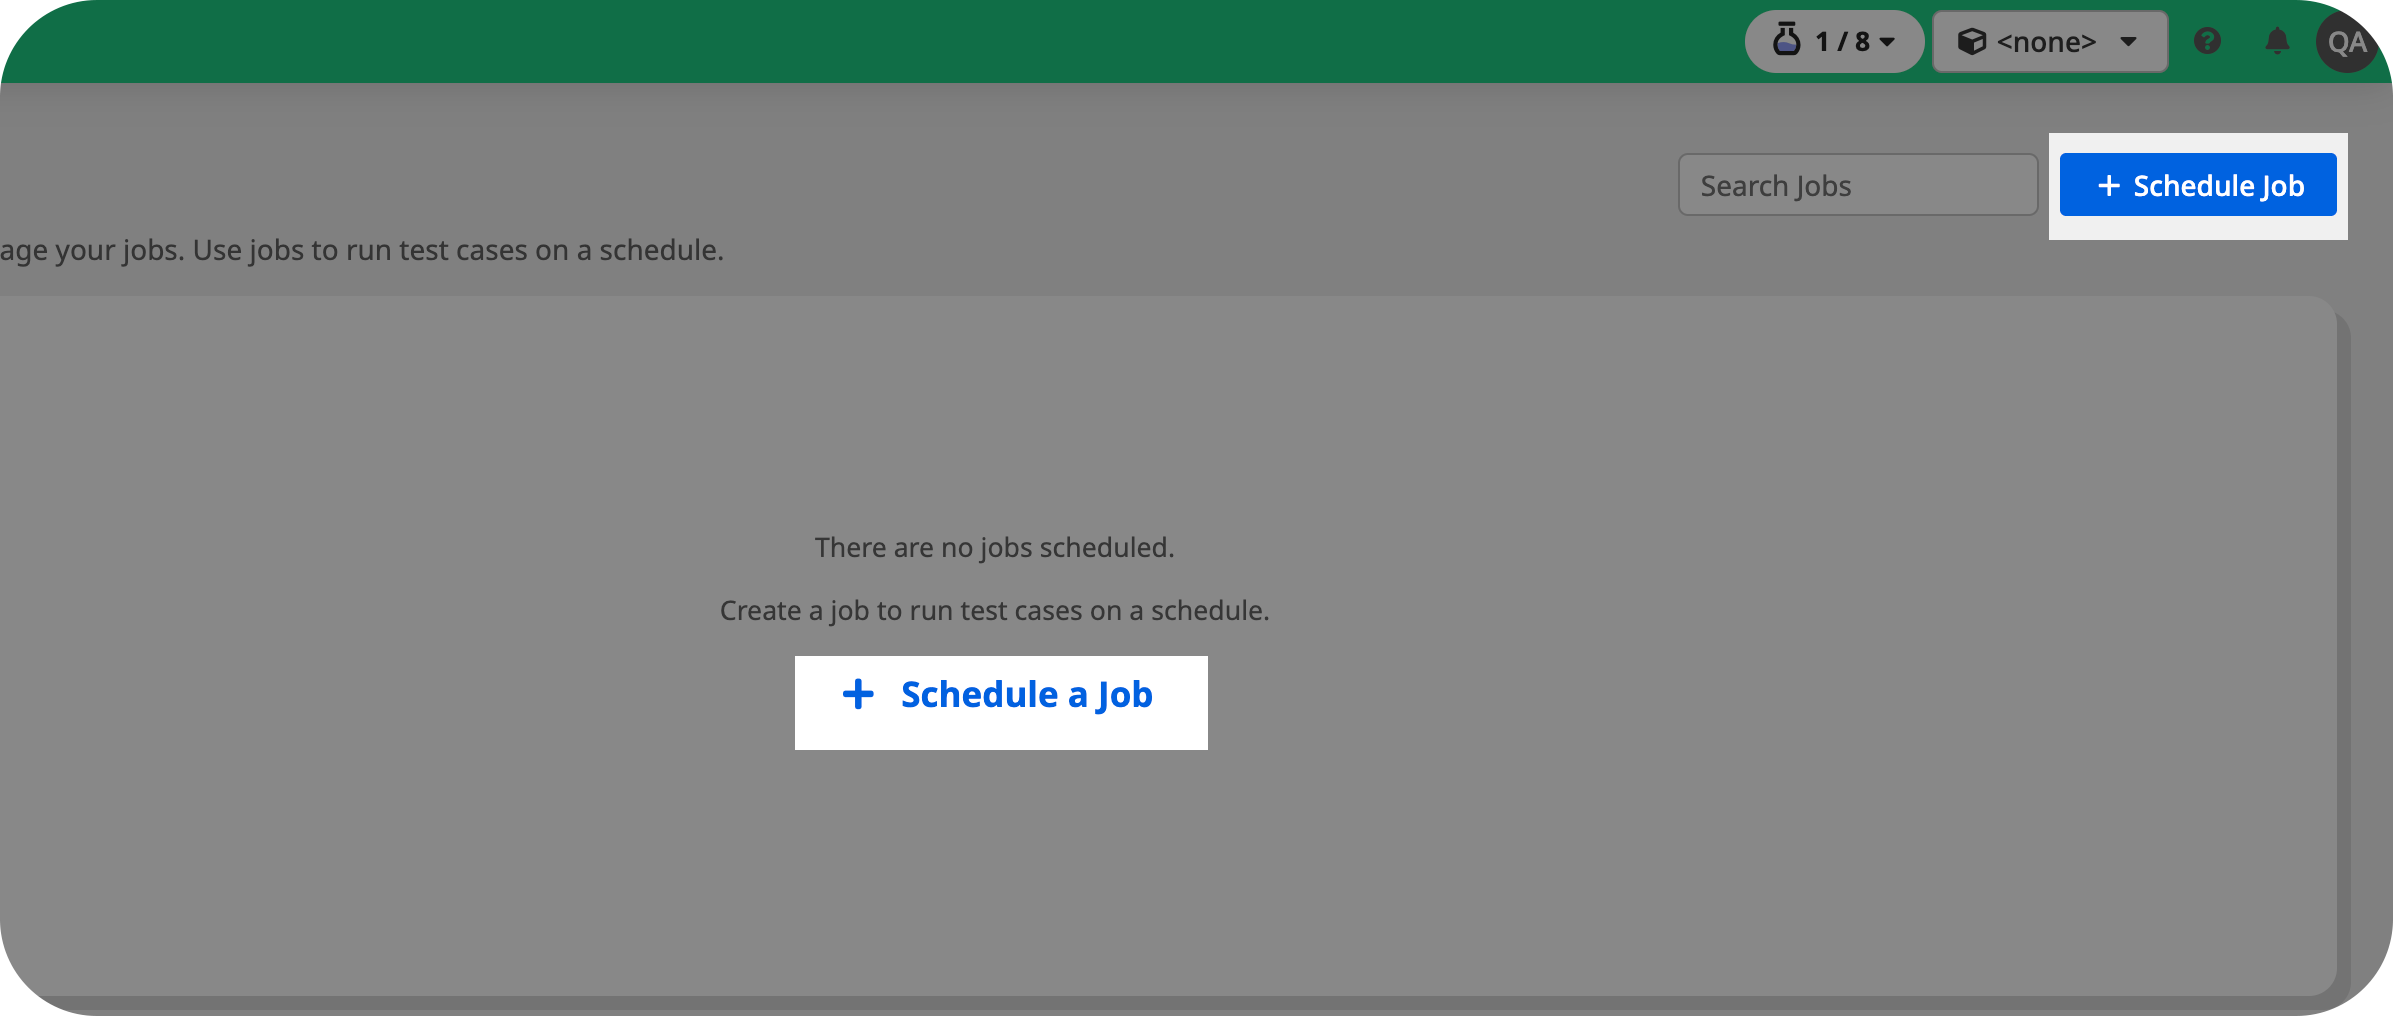
👉 Click the + Schedule Job to create a new job.
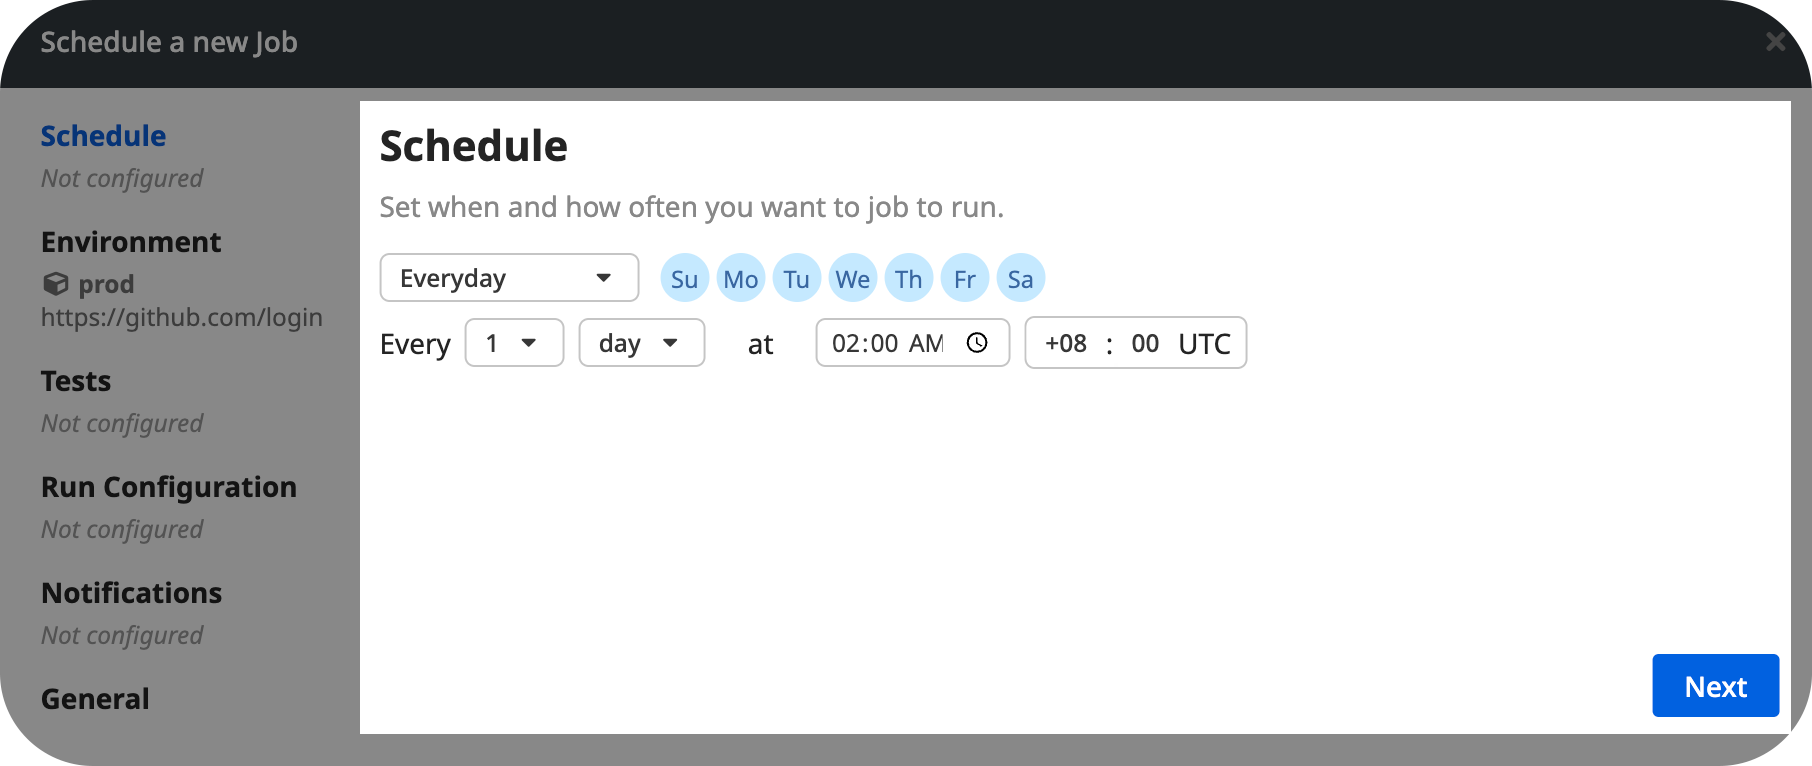
1. Schedule
👉 First, configure the schedule for when and how frequently the job should run.
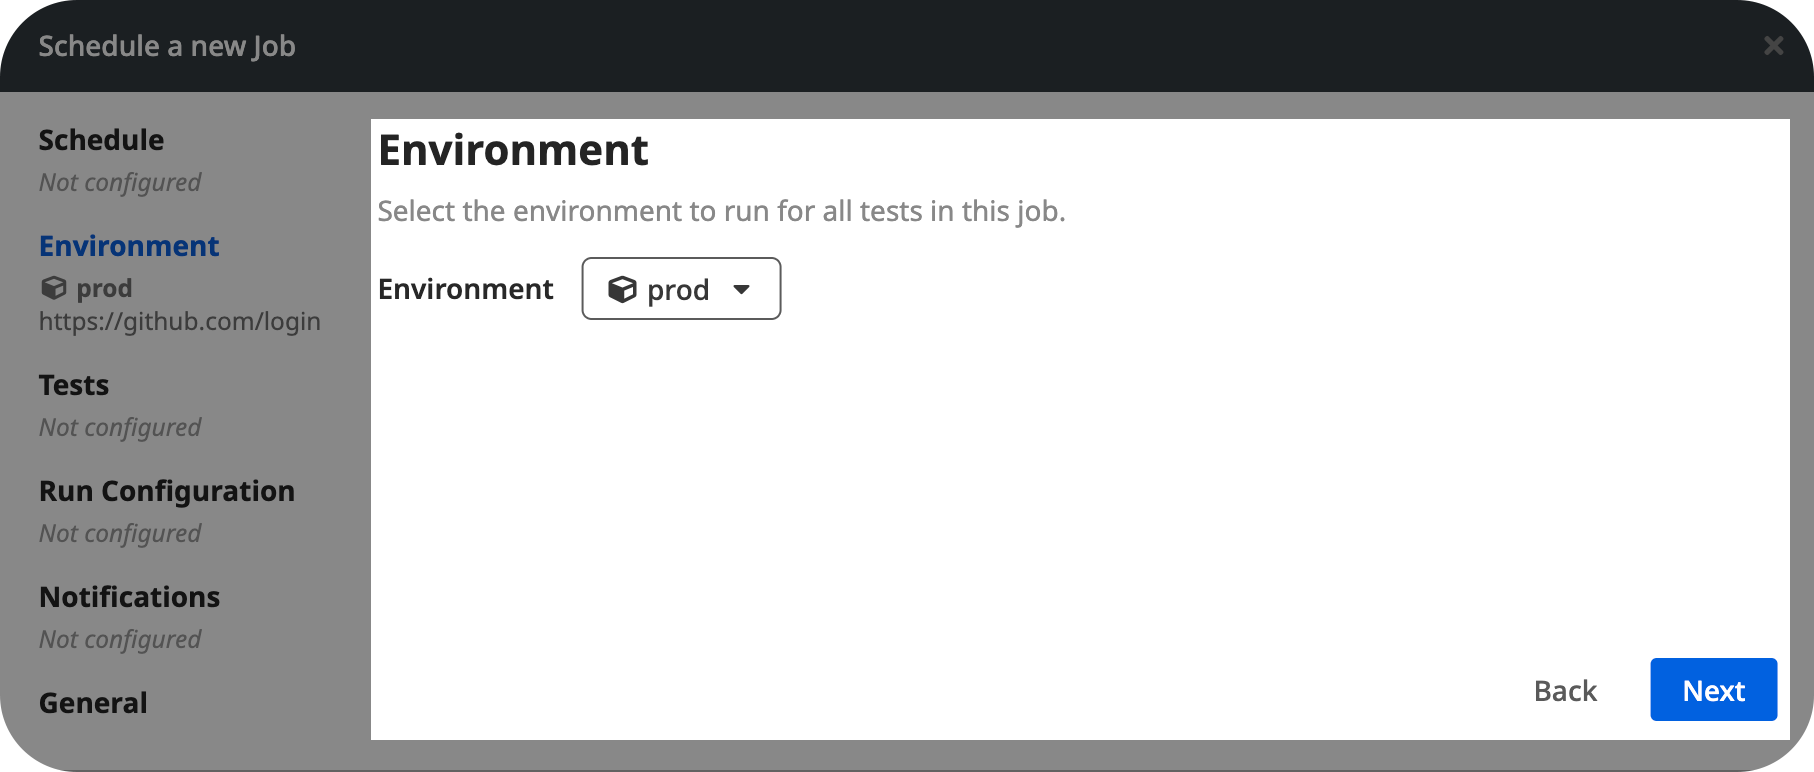
2. Environment
👉 Then, select the environment to run the job with. Tests triggered by this job will be tagged with the selected environment and have access to the variables and secrets defined for this environment
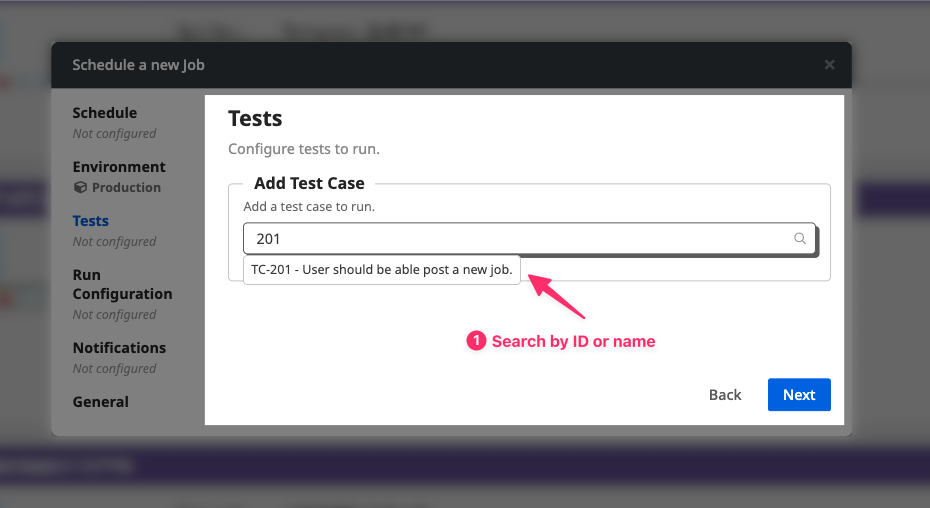
3. Tests and Datasets
Now, configure the tests to run for the job.
👉 Search a test case by its ID or name. Click on the test case from the dropdown to select it.
👉 Configure the datasets to run with the test case and its preconditions.
👉 Click Add Test Case to add the test case to the job.
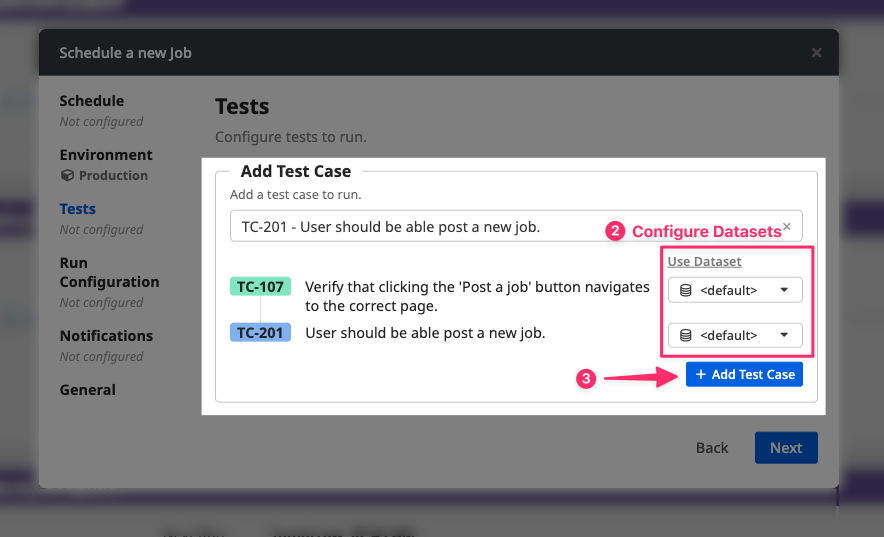
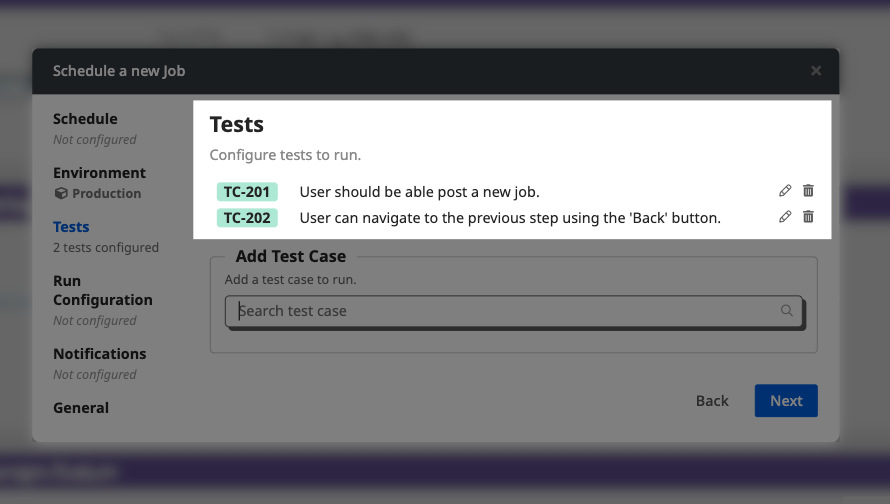
You can add multiple tests to a single job.
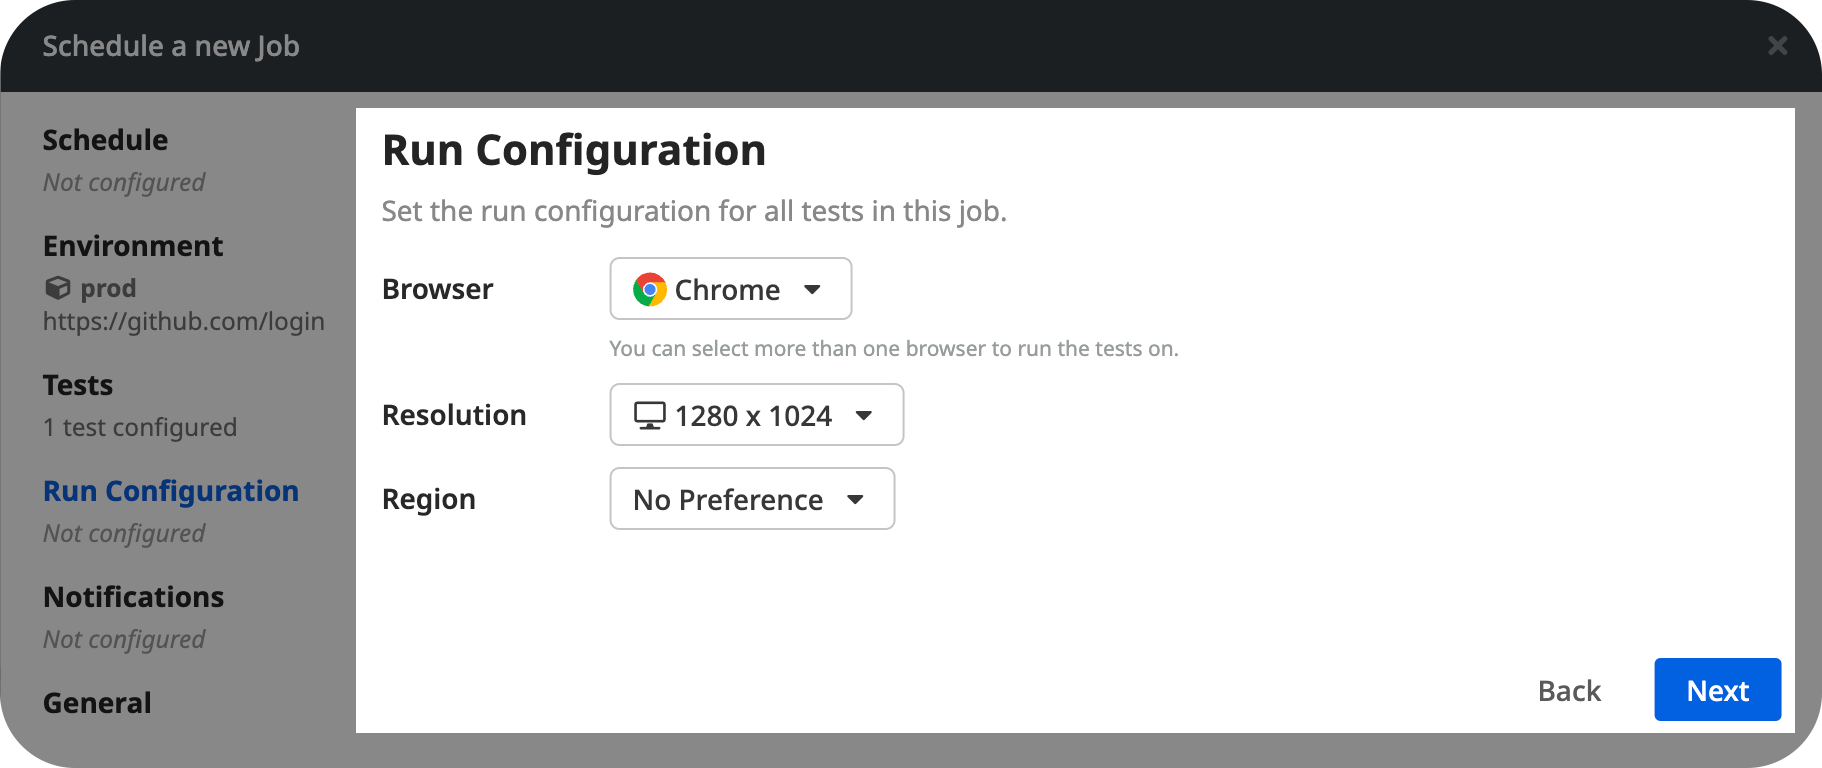
4. Run Configuration
👉 Next, configure the browser, resolution, and region to run the tests with.
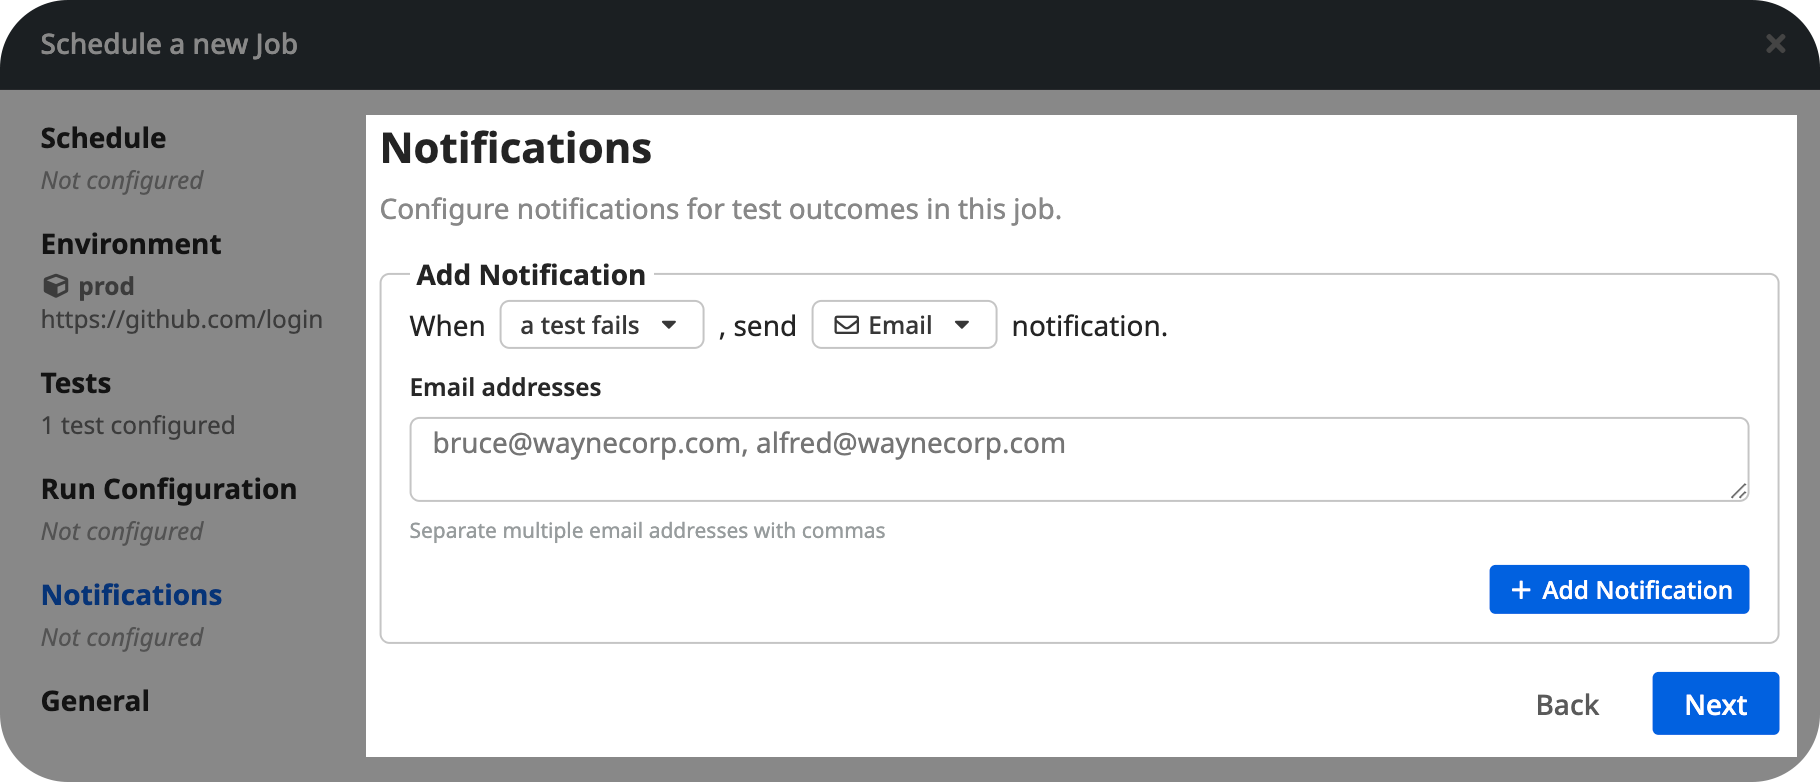
5. Notifications
👉 Then, set up notifications to get alerts for whenever a test completes or fail.
Choose the notification condition:
- Always – for all outcomes
- Error – only when a test fails
Choose notification method:
- Slack
- Microsoft Teams (via webhook)
You can configure multiple notifications, as long as they are different types (e.g. different condition or different methods).
➡️ Learn more about setting up Notifications
5. Name and Description
👉 Finally, provide a clear and descriptive name for your Job, and optionally a description.
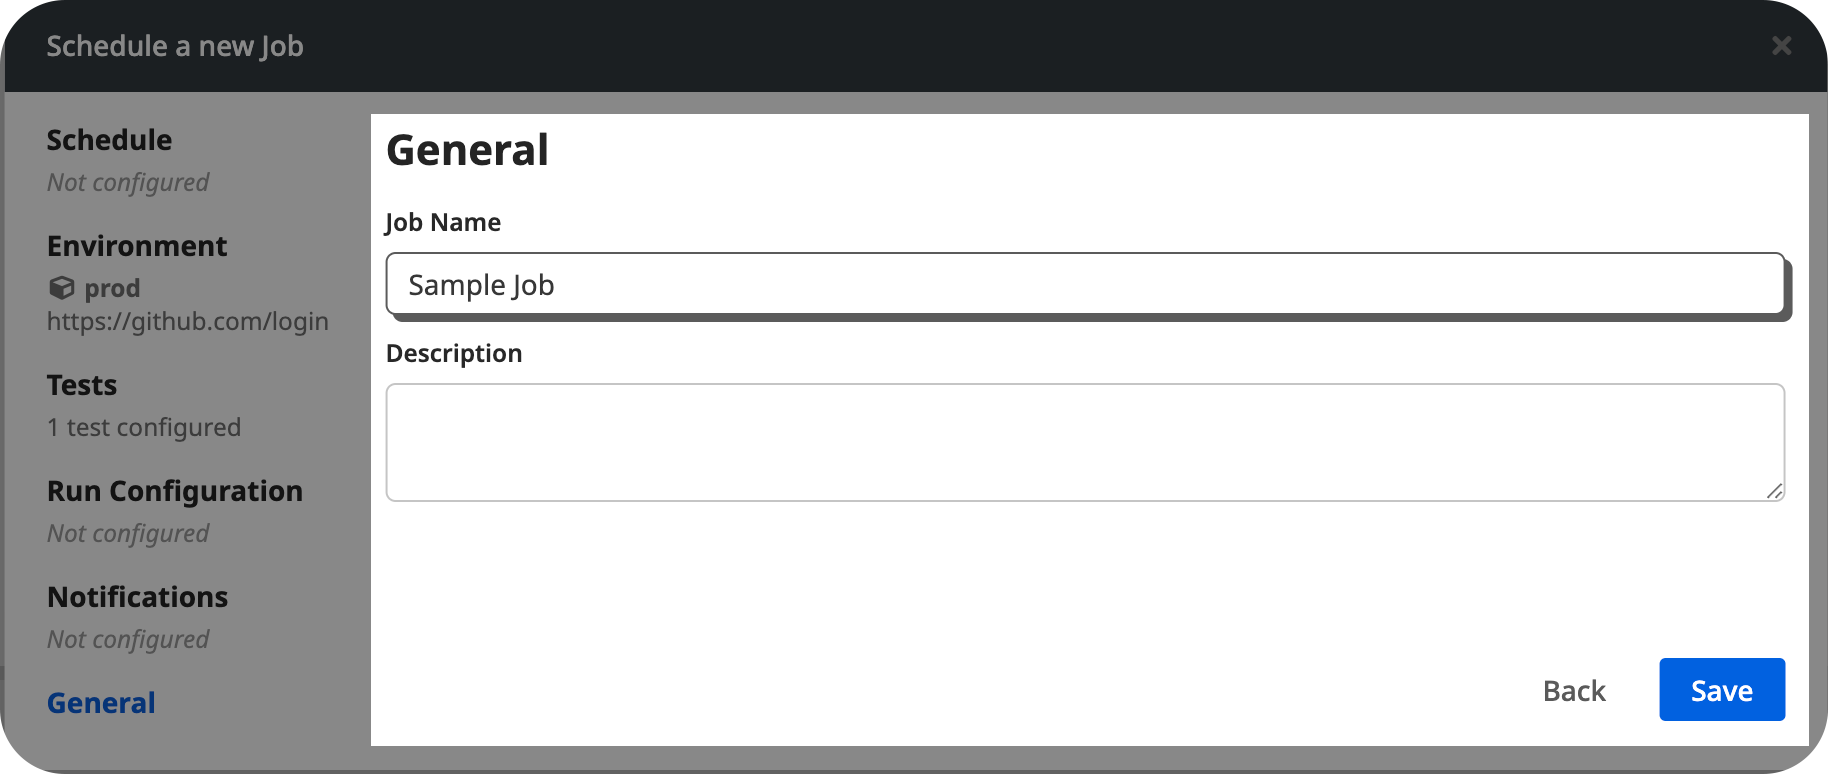
👉 Click Save to create the job.
Now you can monitor the status of the job from the Jobs tab.
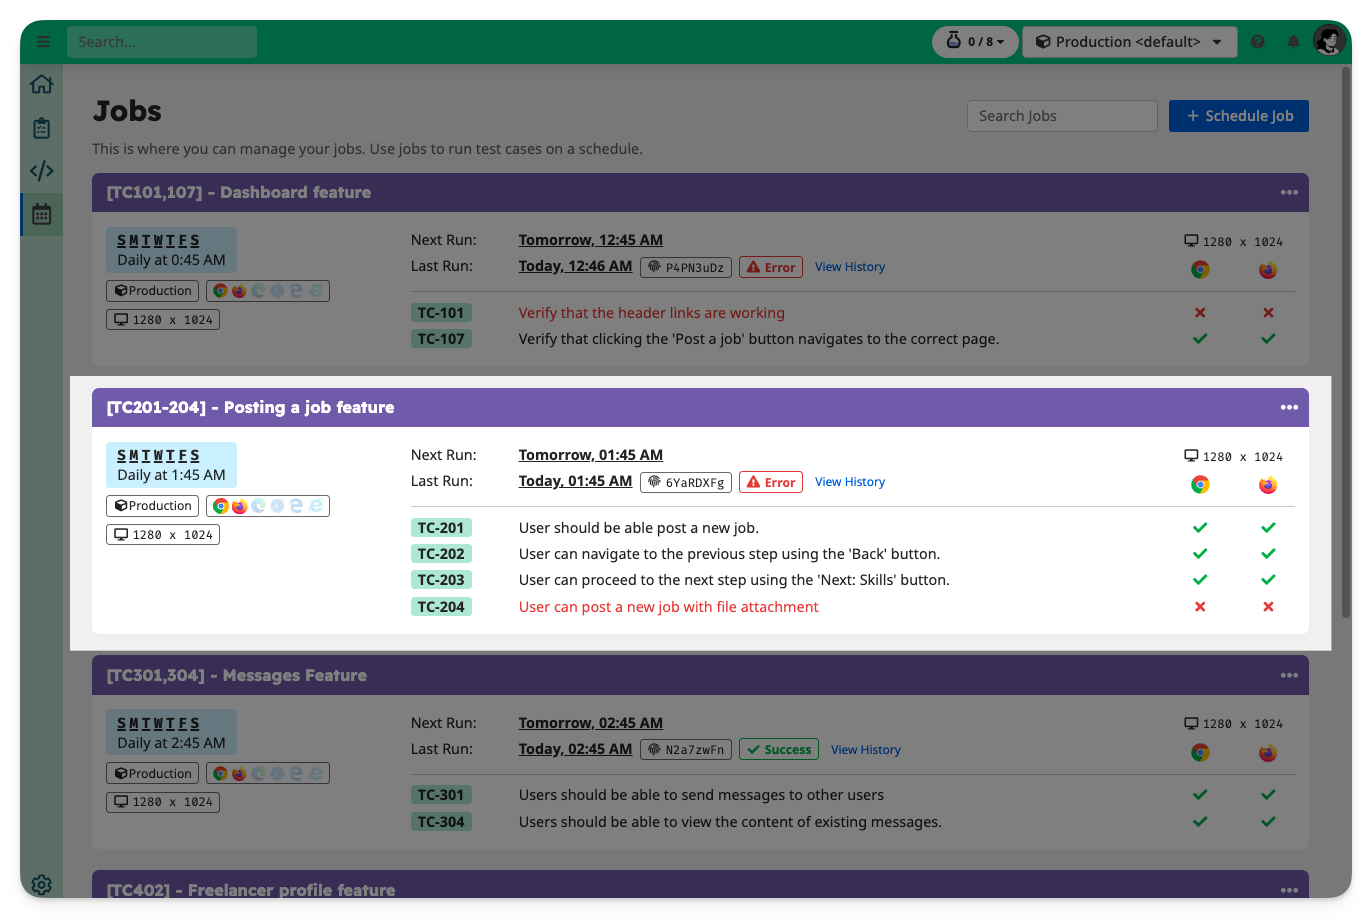
Viewing Job Status
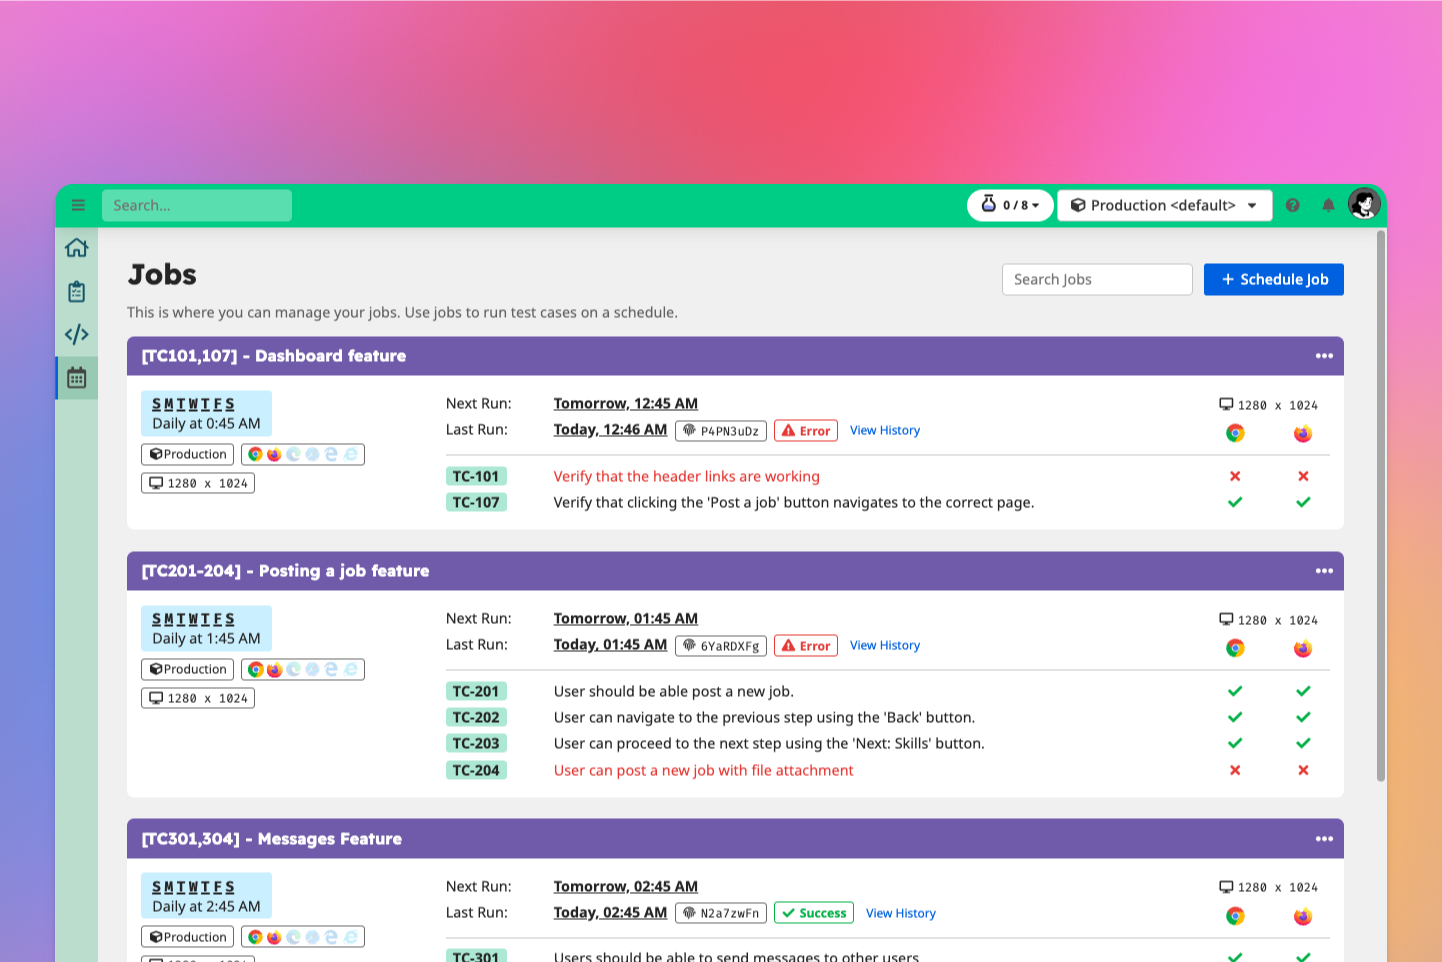
On the Jobs tab, you can view the status of all scheduled jobs for the selected environment.
Each Job card shows the following information about the job:
- Job name
- Job configuration: Schedule, environment (if set), browser, resolution, region (if set)
- Next run time
- Last ran time, ID and overall status
- List of configured tests and last ran status in a (browser x resolution) matrix
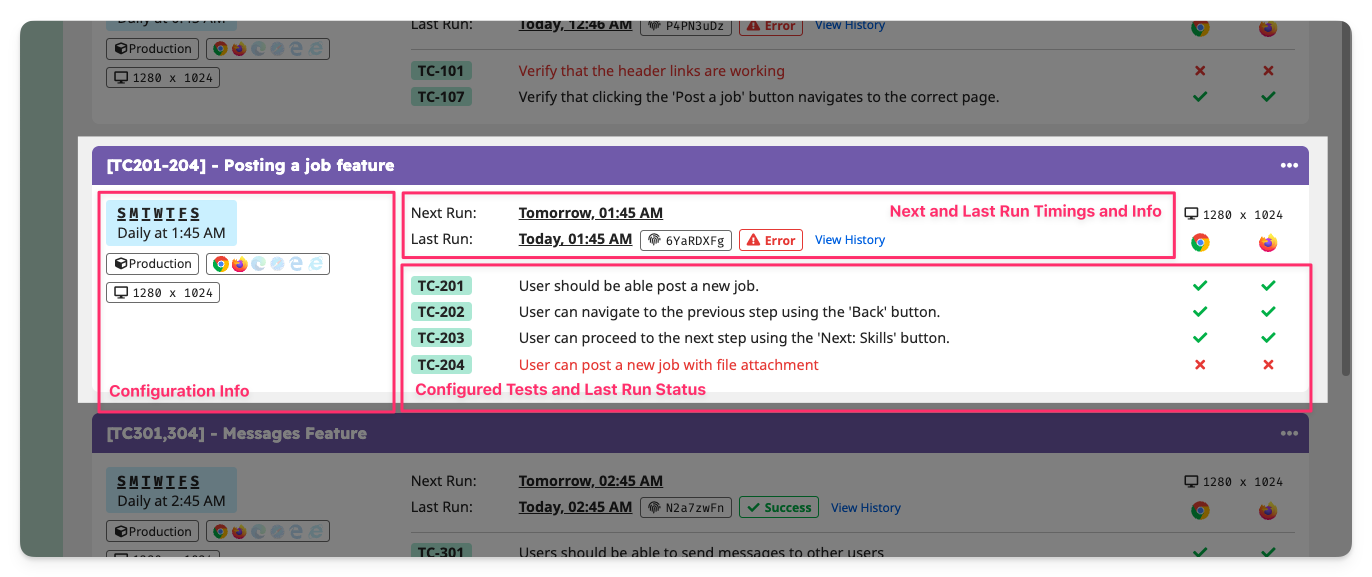
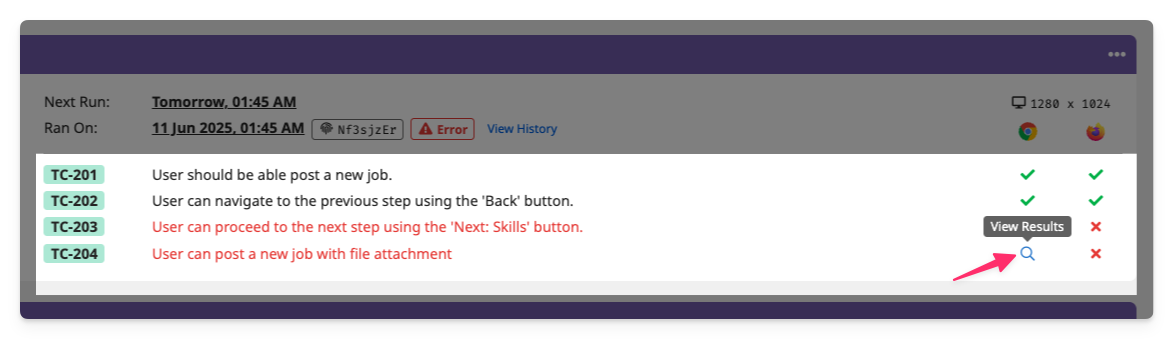
👉 You can view a specific Test Run Report by clicking any of the status icons.
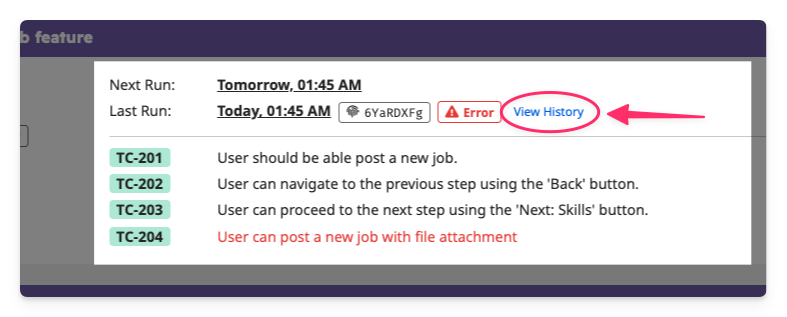
Viewing Job History
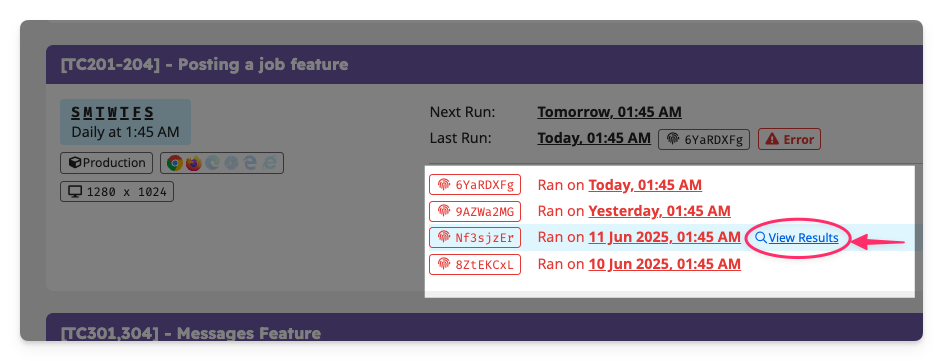
👉 To view past runs, click on View History to view the list of past runs.
👉 Select a run to view the status overview of the run.
Disabling a Job
If you wish to temporarily pause a job, you can disable it from the "..." menu in the top-right corner of the Job card.
This prevents the job from running automatically at its scheduled time.
You can re-enable the job at any time.
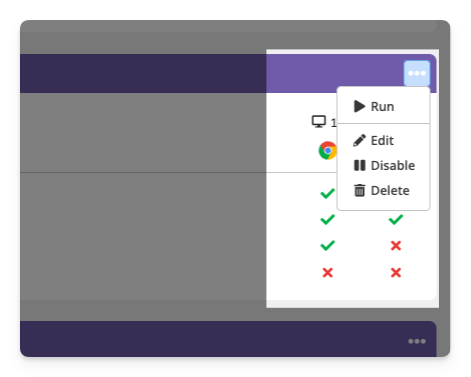
More actions
You can find more actions under the "..." menu in the top-right corner of the Job Card:
- Run : Run the job manually
- Edit : Edit the job configuration
- Disable / Enable : Disable or enable the job schedule
- Delete : Delete the job